星球的同学可以参考: https://gitcode.com/javayong/vision-ai-admin
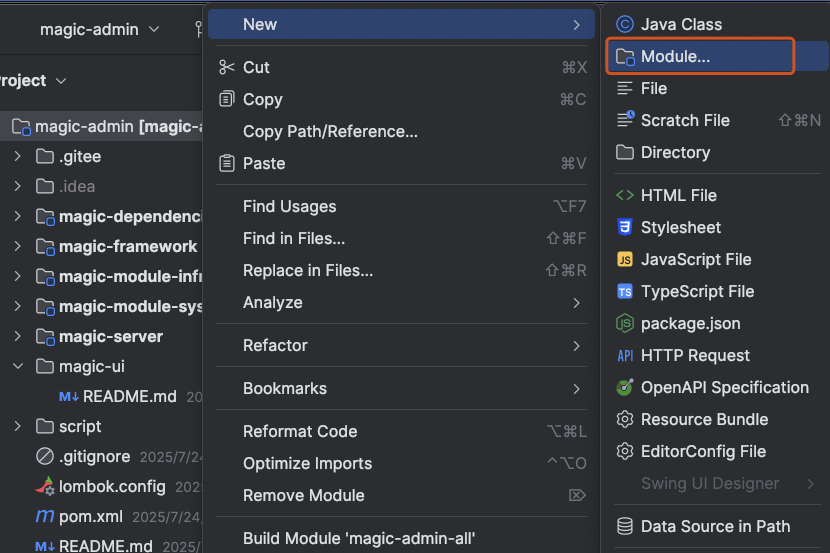
# 1 新建模块
Step 1:选择 Module
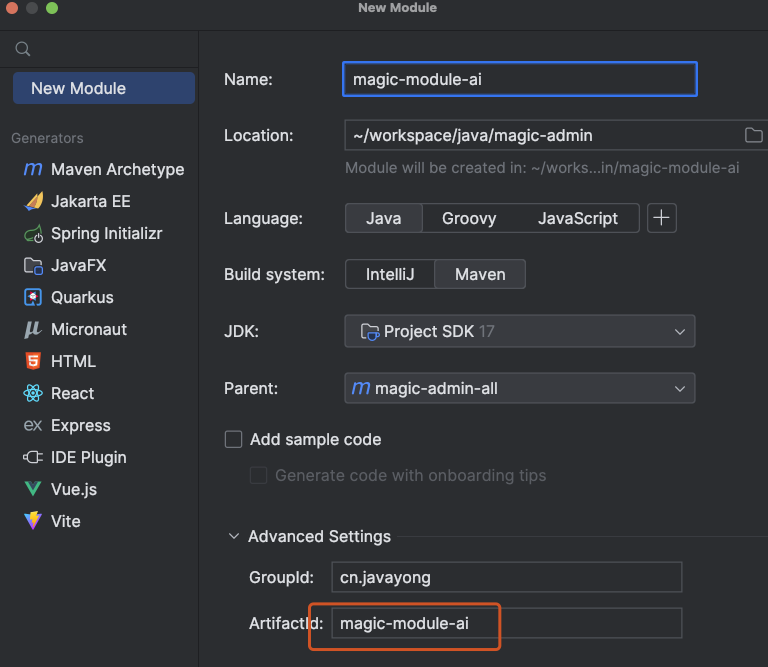
Step 2:模块名称 magic-module-ai
Step3 : 修改 pom 依赖
 <dependencies>
        <!-- ========== 框架核心模块 ========== -->
        <dependency>
            <groupId>cn.javayong</groupId>
            <artifactId>magic-module-infra</artifactId>
            <version>${revision}</version>
        </dependency>

        <dependency>
            <groupId>cn.javayong</groupId>
            <artifactId>magic-module-system</artifactId>
            <version>${revision}</version>
        </dependency>

        <!-- 分布式ID生成器 (解决雪花ID、UUID等生成问题) -->
        <dependency>
            <groupId>cn.javayong</groupId>
            <artifactId>magic-spring-boot-starter-idgenerator</artifactId>
        </dependency>

        <!-- IP地址解析工具 (地理位置、黑名单等) -->
        <dependency>
            <groupId>cn.javayong</groupId>
            <artifactId>magic-spring-boot-starter-biz-ip</artifactId>
        </dependency>

        <!-- ========== Web 相关 ========== -->
        <!-- 安全认证模块 (JWT/OAuth2/权限控制) -->
        <dependency>
            <groupId>cn.javayong</groupId>
            <artifactId>magic-spring-boot-starter-security</artifactId>
        </dependency>

        <!-- 参数校验 (Bean Validation 规范实现) -->
        <dependency>
            <groupId>org.springframework.boot</groupId>
            <artifactId>spring-boot-starter-validation</artifactId>
        </dependency>

        <!-- 响应式Web支持 (高性能IO场景) -->
        <dependency>
            <groupId>org.springframework.boot</groupId>
            <artifactId>spring-boot-starter-webflux</artifactId>
        </dependency>

        <!-- ========== 数据持久化 ========== -->
        <!-- MyBatis增强套件 (分页/动态SQL等) -->
        <dependency>
            <groupId>cn.javayong</groupId>
            <artifactId>magic-spring-boot-starter-mybatis</artifactId>
        </dependency>

        <!-- Redis集成 (缓存/分布式锁等) -->
        <dependency>
            <groupId>cn.javayong</groupId>
            <artifactId>magic-spring-boot-starter-redis</artifactId>
        </dependency>

        <!-- 公共工具库 (异常处理/通用DTO等) -->
        <dependency>
            <groupId>cn.javayong</groupId>
            <artifactId>magic-common</artifactId>
        </dependency>

        <!-- ========== 定时任务 ========== -->
        <!-- 分布式任务调度 (类似XXL-JOB) -->
        <dependency>
            <groupId>cn.javayong</groupId>
            <artifactId>magic-spring-boot-starter-job</artifactId>
        </dependency>

        <!-- ========== 消息队列 ========== -->
        <!-- 消息中间件抽象层 (支持Kafka/RabbitMQ等) -->
        <dependency>
            <groupId>cn.javayong</groupId>
            <artifactId>magic-spring-boot-starter-mq</artifactId>
        </dependency>

        <!-- ========== 工具类 ========== -->
        <!-- Excel导入导出 (基于Apache POI封装) -->
        <dependency>
            <groupId>cn.javayong</groupId>
            <artifactId>magic-spring-boot-starter-excel</artifactId>
        </dependency>

        <!-- 邮件发送服务 -->
        <dependency>
            <groupId>org.springframework.boot</groupId>
            <artifactId>spring-boot-starter-mail</artifactId>
        </dependency>
    </dependencies>
1
2
3
4
5
6
7
8
9
10
11
12
13
14
15
16
17
18
19
20
21
22
23
24
25
26
27
28
29
30
31
32
33
34
35
36
37
38
39
40
41
42
43
44
45
46
47
48
49
50
51
52
53
54
55
56
57
58
59
60
61
62
63
64
65
66
67
68
69
70
71
72
73
74
75
76
77
78
79
80
81
82
83
84
85
86
87
88
89
90
91
2
3
4
5
6
7
8
9
10
11
12
13
14
15
16
17
18
19
20
21
22
23
24
25
26
27
28
29
30
31
32
33
34
35
36
37
38
39
40
41
42
43
44
45
46
47
48
49
50
51
52
53
54
55
56
57
58
59
60
61
62
63
64
65
66
67
68
69
70
71
72
73
74
75
76
77
78
79
80
81
82
83
84
85
86
87
88
89
90
91
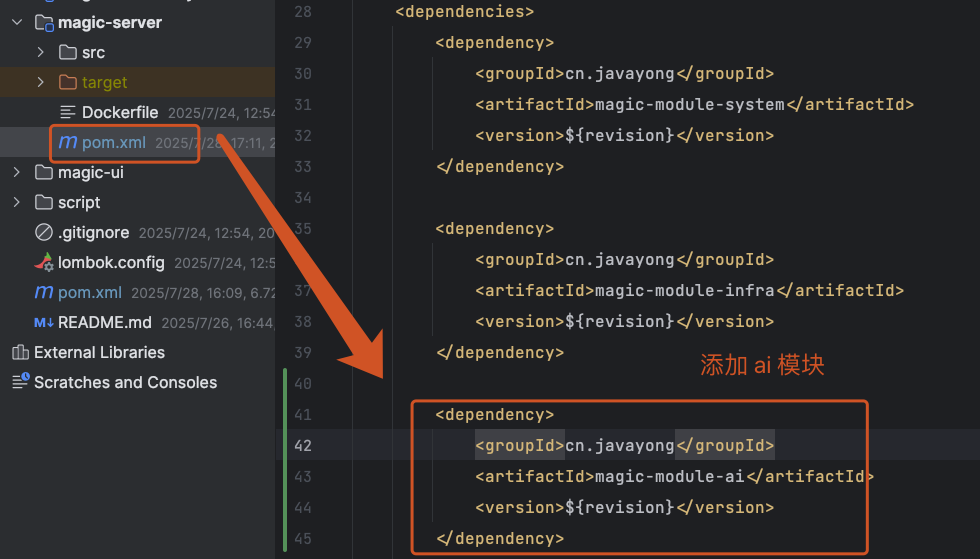
Step4 : 将模块 ai 添加到 magic-server 模块
# 2 创建测试类
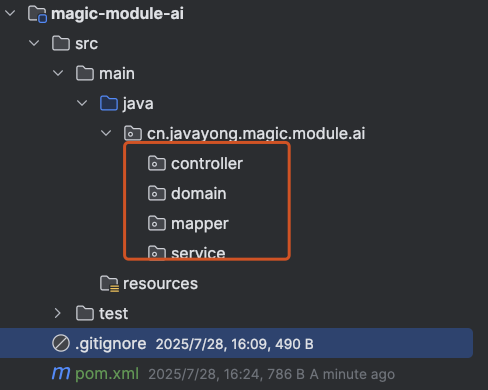
在演示模块 magic-module-ai 下创建基础包 controller 、service 、 mapper 、domain 。
在 controller 包下创建 DemoController ,内容如下:
@Tag(name = "管理后台 - 认证")
@RestController
@RequestMapping("/ai/demo")
@Validated
@Slf4j
public class DemoController {

    @GetMapping("/test")
    @Operation(summary = "测试", description = "测试例子")
    @PermitAll
    public CommonResult<String> test() {
        return success("hello ,my first hello");
    }

}
1
2
3
4
5
6
7
8
9
10
11
12
13
14
15
2
3
4
5
6
7
8
9
10
11
12
13
14
15
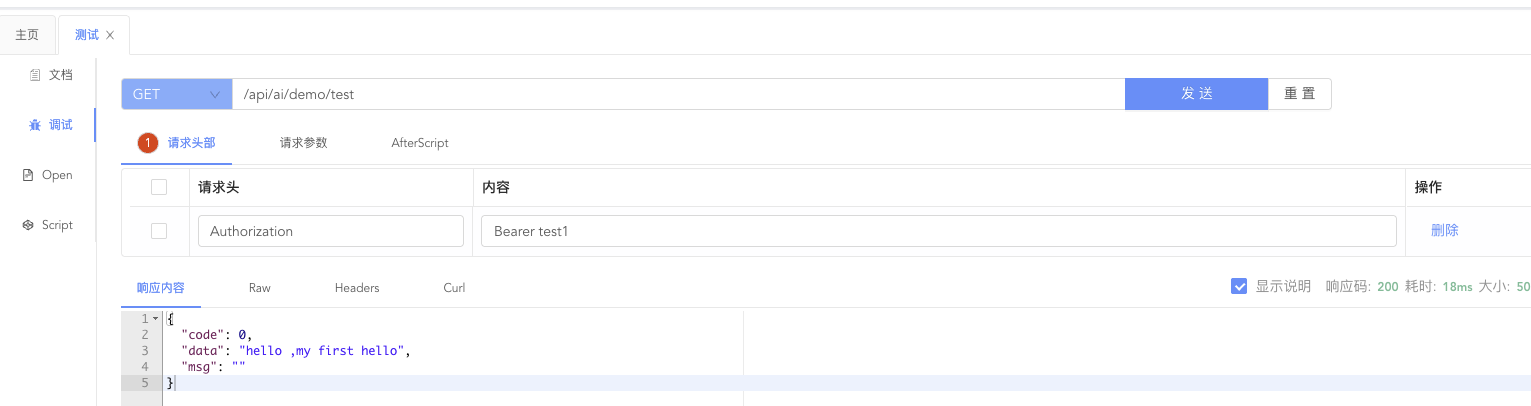
代码中, test 方法上的注解使用 PermitAll ,标识不需要登录验证。
启动 MagicAdminApplication 后,访问:http://localhost:48080/api/ai/demo/test ,得到结果:
{
 "code":0,
 "data":"hello ,my first hello",
 "msg":""
}
1
2
3
4
5
2
3
4
5
我们也可以访问 http://127.0.0.1:48080/doc.html ,进入 Swagger 接口文档 。